A holiday treat straight out of a winter wonderland with these Snowflake Minnie Ear Cupcakes!
By Erin
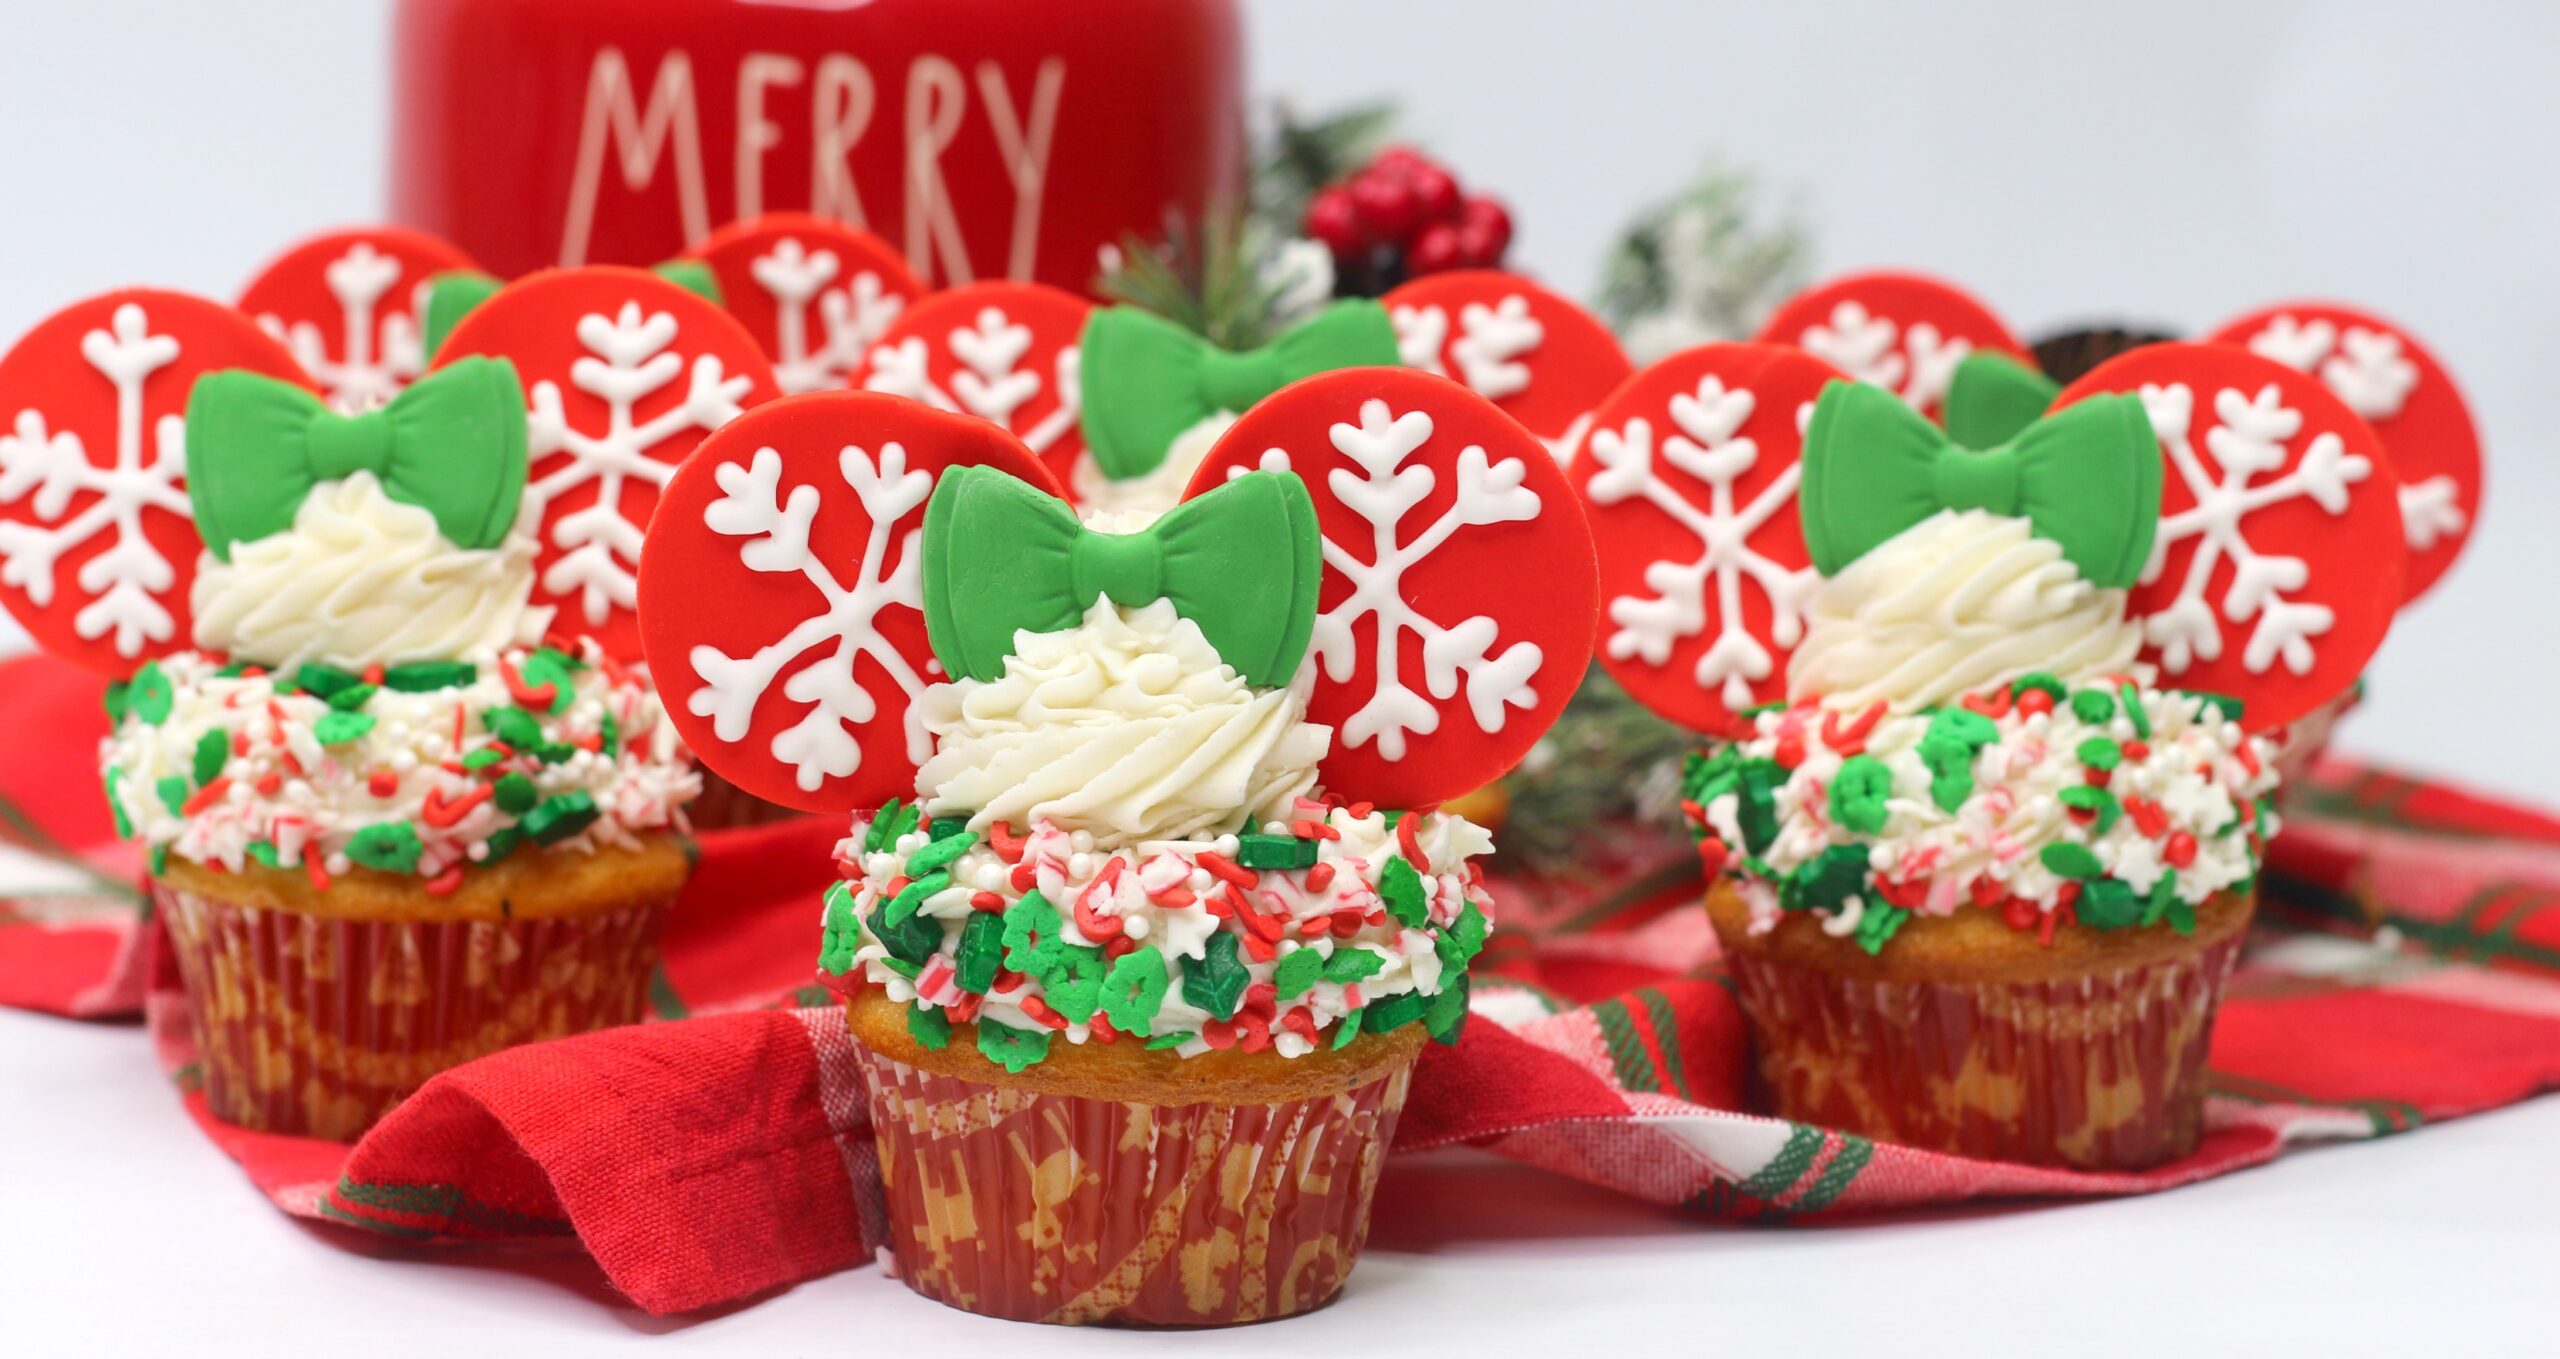
There’s something extra magical about holiday baking, especially when it involves sprinkles, snowflakes, and a little Disney-inspired charm. These Snowflake Minnie Ear Cupcakes are the perfect mix of festive and fun, bringing winter wonderland vibes straight to your kitchen. With sparkly snowflake ears, a bright green bow, and fluffy vanilla frosting, these cupcakes feel like they belong at a holiday party, a cozy movie night, or even Santa’s dessert table. Whether you’re baking with kids or just channeling your inner holiday magic, these cupcakes are guaranteed to bring smiles all around.
🧁 Snowflake Minnie Mouse Cupcakes Recipe
🐭 Fondant Ears & Bow Decorations
Ingredients
1 package red fondant
1 package green fondant
1 Wilton fondant bow mold
1 mini circle fondant cutter
1 Wilton white piping gel
Powdered sugar (for dusting)
Directions
Prepare the Fondant (Day 1):
Sprinkle powdered sugar onto a cutting board.
Roll out the red fondant to about ¼-inch thickness.
Use the mini circle cutter to cut out 48 red fondant circles for the ears.
Set the circles aside and allow them to dry overnight.
Make the Bows:
Dust your hands with powdered sugar.
Roll the green fondant into a smooth ball.
Pinch off 1 teaspoon-sized pieces and press them firmly into the larger bow mold.
Make 22 bows and set them aside to dry overnight.
Decorate the Ears (Day 2):
Using the white piping gel, pipe delicate snowflake designs onto each red fondant circle.
Allow the designs to dry for a few hours before handling.
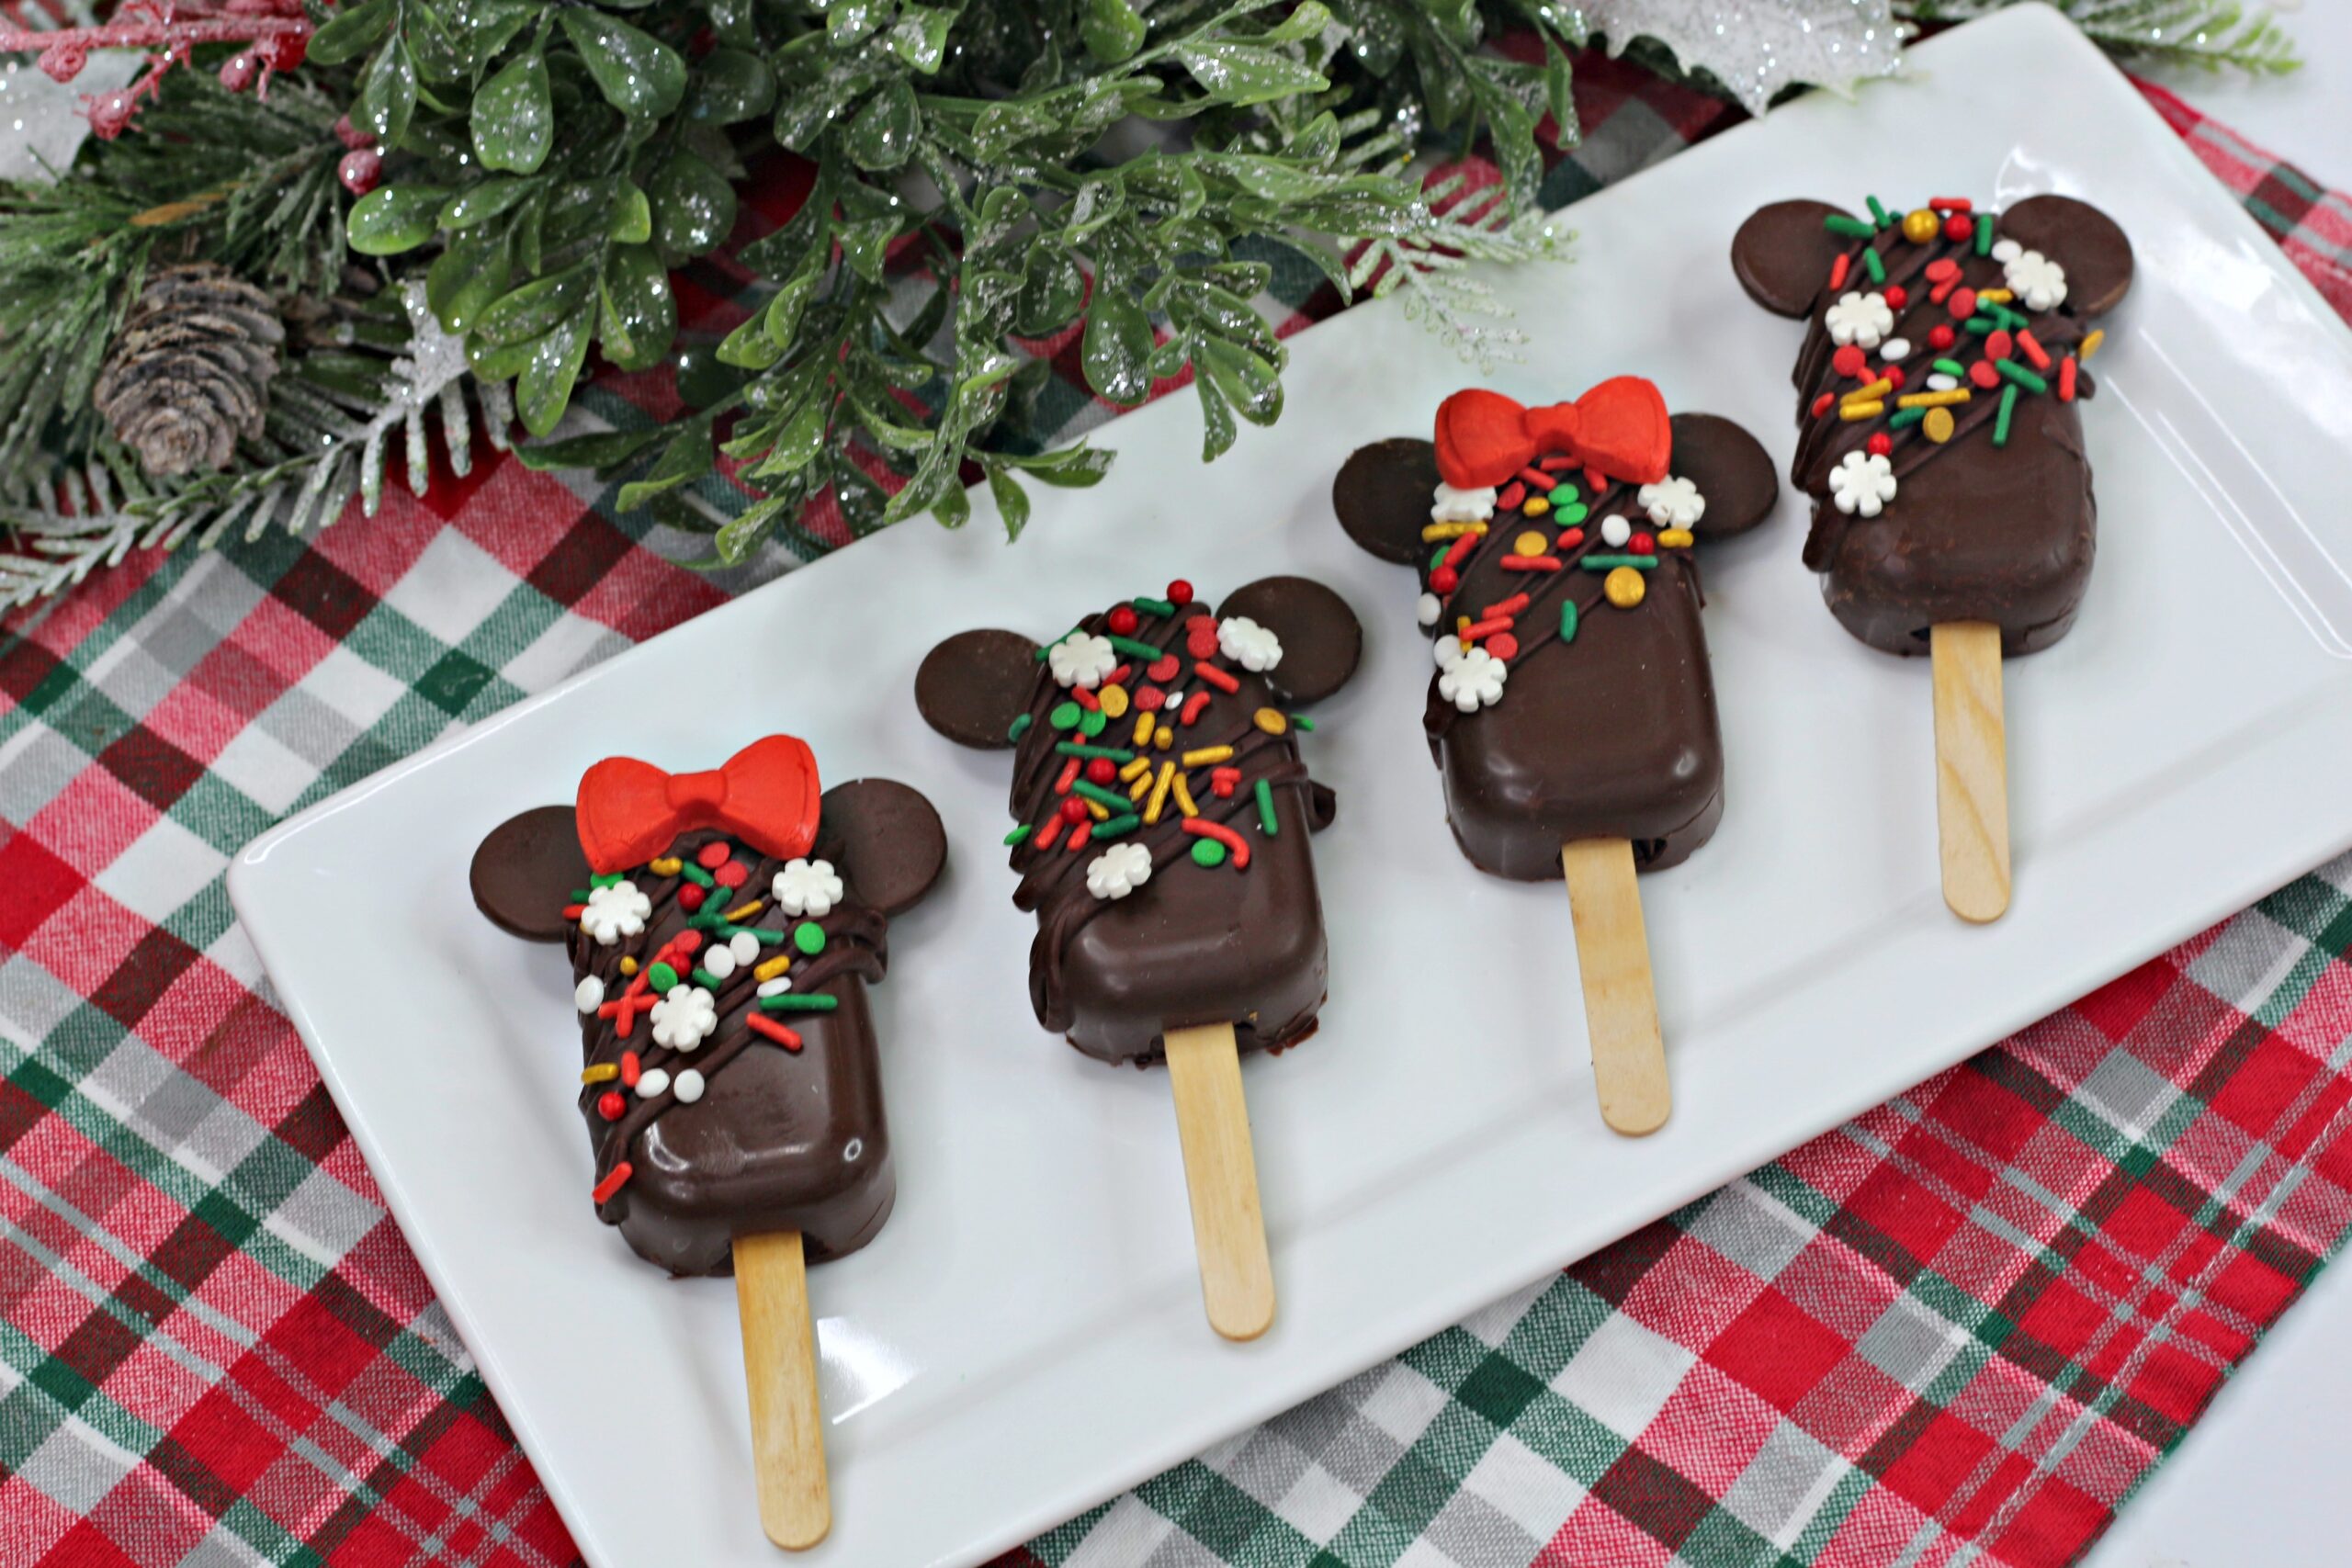
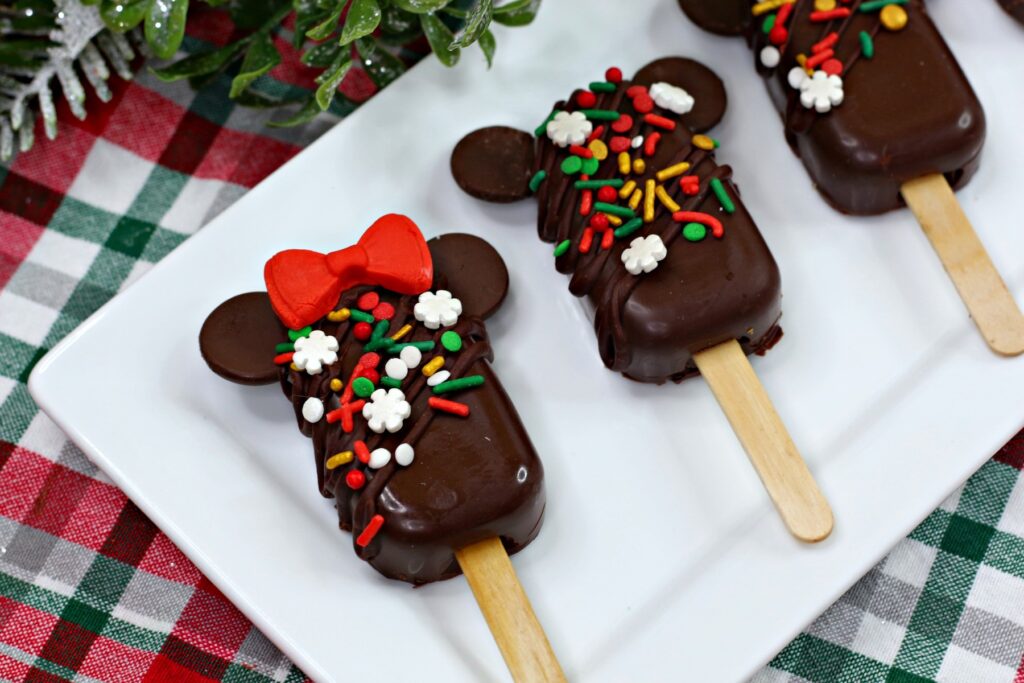
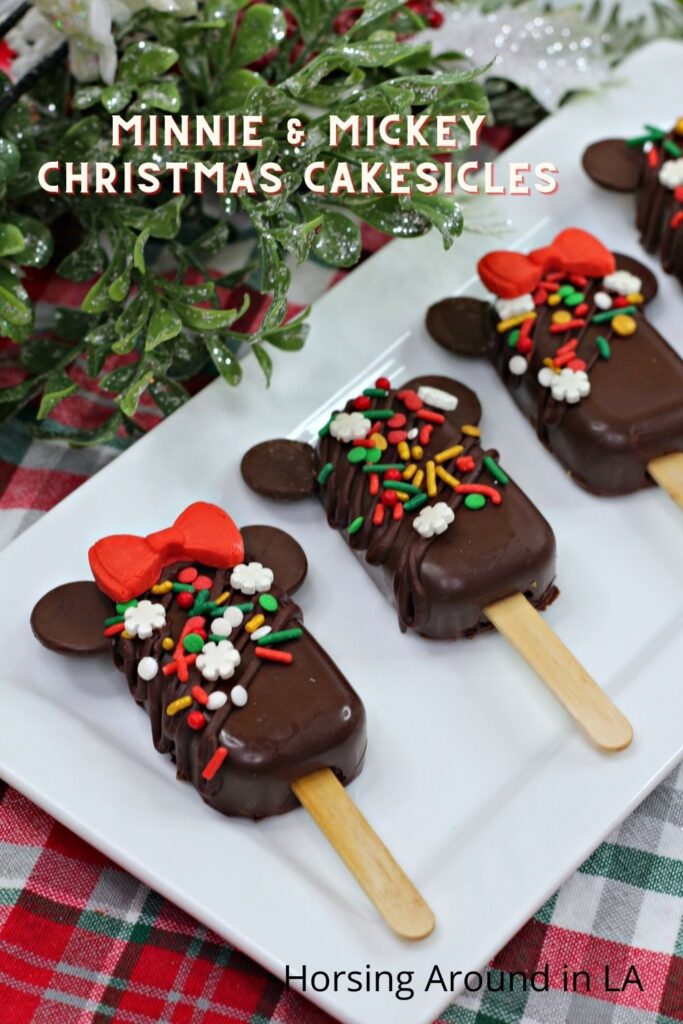
Winter cheer! Minnie & Mickey Christmas Cakesicles makes it easy to get in the holiday spirit with these magical and festive treats. The best part is you can make them at home to create some Disney magic in your own home to enjoy. Here’s how to make these fun treats that are sure to put a smile on your face!
Makes 18 cakesicles
Red Fondant Bow ingredients (Only need to make about 9 bows):
1 package of Wilton Red Fondant
1 wilton bow fondant mold
1 cup cornstarch
1 cookie sheet with parchment paper or a silicone mat
Directions
Dust your hands and the fondant mold with cornstarch
Work the red fondant to where it becomes soft
Pinch off about 1 tbsp of the red fondant and mold it into the small size bow
Remove and place onto the cookie sheet
Allow to air dry overnight
Chocolate Cupcake
1 box of chocolate cake mix
1 ¼ cup of whole milk
½ cup unsalted sweet cream butter, softened
3 large eggs
1 16 oz container of chocolate frosting
2 – 14oz bag of Ghirardelli chocolate melting wafers
1 cup of your favorite christmas sprinkles
1 silicone cake popsicle mat
1 cookie sheet with a wire rack
18 popsicle sticks
1 disposable piping bag
Cupcake Directions
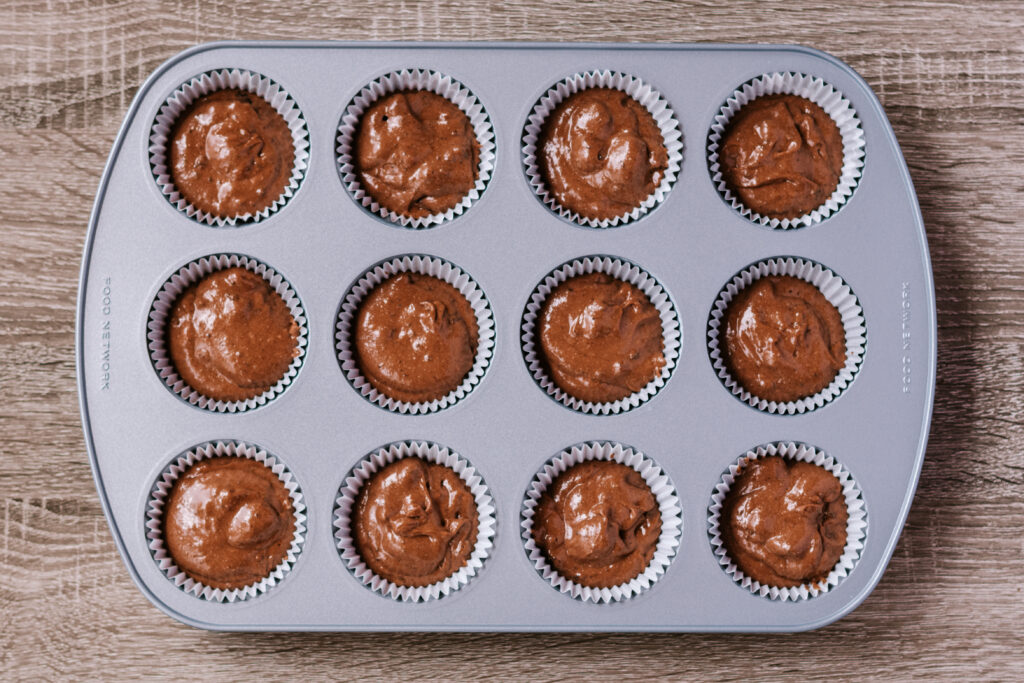
Preheat the oven to 350 degrees and line a cupcake pan with liners
Using a large bowl, beat together the cake mix, milk, butter and eggs
until combined and smooth
Fill the cupcake liners ¾ way full
Bake in the oven for 21 minutes
Allow to cool completely
Once the cupcakes have cooled, remove them from their cupcake liners and crumble them into a large mixing bowl
Making the cakesicle cake dough directions :
Once all the cupcakes have been crumbles into moist sand like texture, scoop in about ¼ – ½ Cup of the chocolate frosting
Using either your hands or a rubber spatula, mix in the frosting into the crumbs until a dough like mixture forms
Decorating directions
Remove 36 solid round chocolate melting wafers from the bag and set aside. These will be used to make the ears
Using the remaining chocolate in the wafer bags, pour into a large bowl
Using a microwave, melt the chocolate in 30 second increments, mixing after each time to ensure smooth melted chocolate
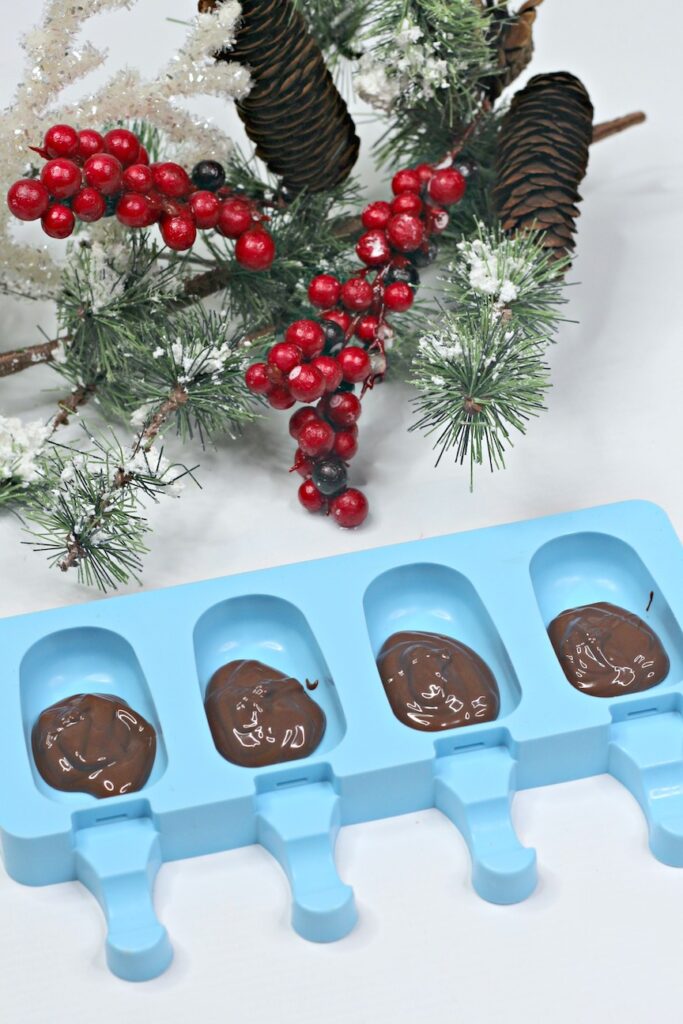
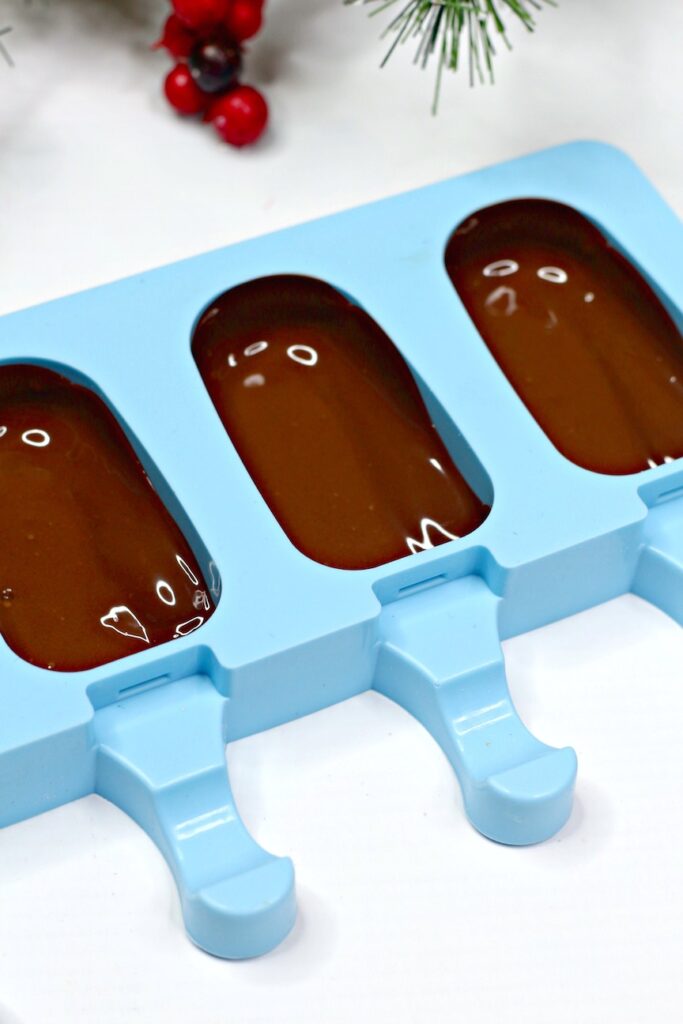
Once the chocolate is melted, spoon about 1-2 tbsp of the melted chocolate into the cakesicle molds
Move the cakesicle mold around to ensure that the sides are coated in the chocolate
Carefully push in the popsicle stick into the bottom of the cakesicle mold
Place the mold into the fridge for about 10 minutes
Once the chocolate is set, remove from the fridge
Take about 1-2 tbsp of the cake mixture and carefully press into the mold, make sure the side of the chocolate does not break
Remelt the chocolate used to coat the cakesicle mold
Once the chocolate is remelted, spoon on about 1-2 tbsp of the chocolate onto the top of the cake mixture into the mold
Place mold back into the fridge for another 30 minutes
Carefully remove the cakesicle from the mold
Place onto the wire rack
Repeat steps with remaining cake dough
Using the remaining melted chocolate, spoon it into a piping bag
Decorating Mickey and Minnie Directions :
Carefully cut the bottom off of the chocolate rounds that were set aside earlier
You will want the bottom of the chocolate rounds to be flat in order to stick to the sides of the cakesicle
Cut the tip off the piping bag
Carefully pipe a line of melted chocolate onto the smooth bottom of the chocolate round
Carefully place the chocolate round onto the side of the cakesicle
Hold it there for about 30 seconds or more to make sure the the round doesn’t fall
Repeat steps to all of the cakesicles made
Once that is completed, dizzle lines of chocolate onto the cakesicles
Sprinkle some christmas sprinkles onto the chocolate lines
Carefully remove the bows from the cookie sheets and place in the center of half of the cakesicles
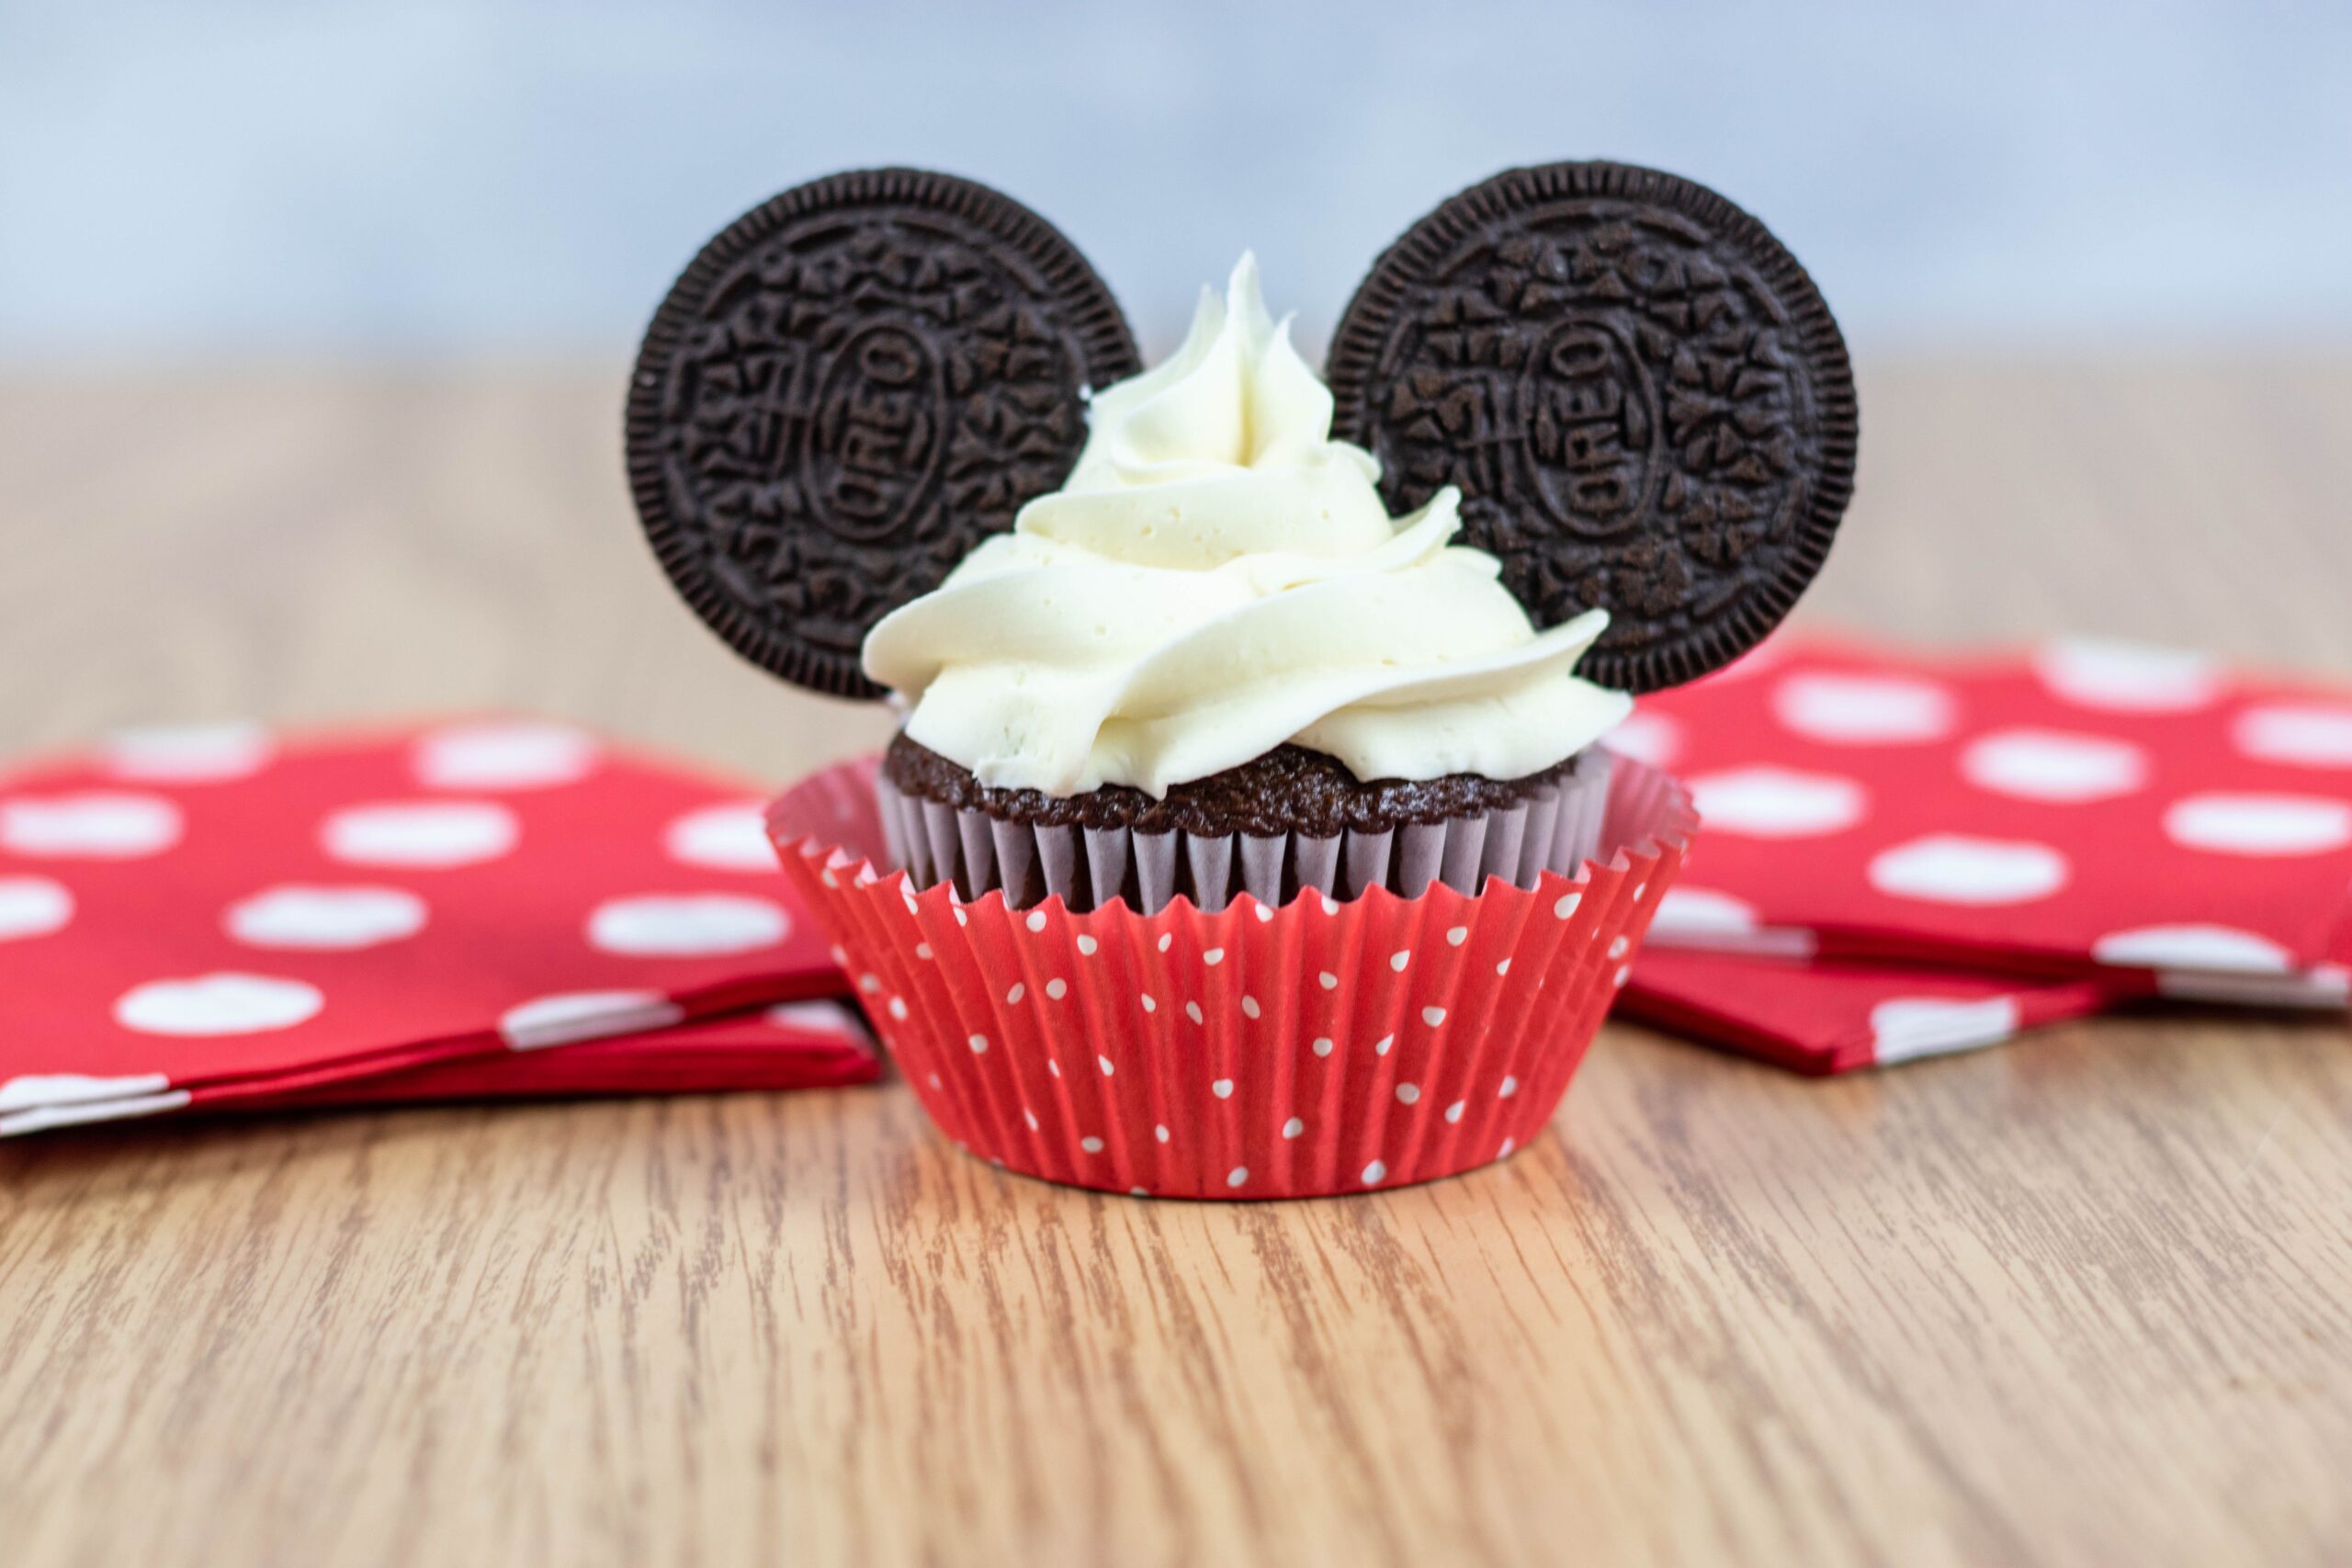
How cute are these Mickey Mouse Cupcakes? They are almost too cute to eat! Since we can’t hit the parks to enjoy some much needed Disney treats, why not make some at home? These are easy enough that the kids can join in and help make them! They are so fun to make (and eat)!
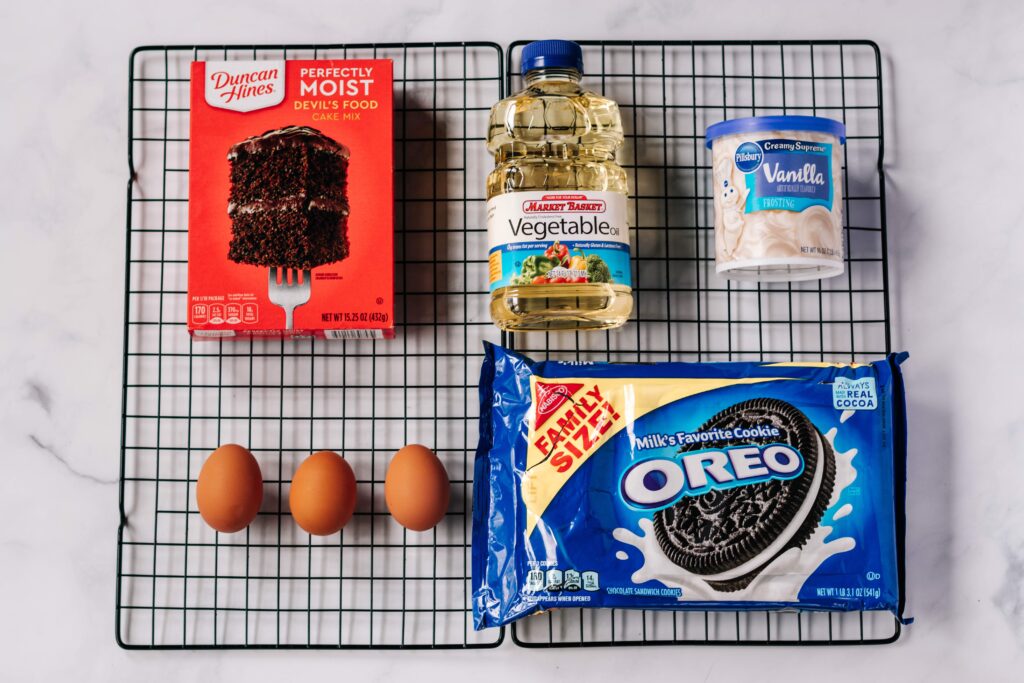
Ingredients
Makes 24 cupcakes
1 box of Devil’s Food cake mix
1 cup of water
3 large eggs
⅓ cup of vegetable oil
48 Oreos
3 tubs of vanilla frosting
1M Wilton tip
1 Wilton disposable piping bag
Cupcakes
Preheat oven to 350 F
Grease sides and bottoms of each cup of your cupcake baking pan
Blend cake mix, oil, eggs and water in a large bowl (follow the instructions on your specific box of cake mix)
Pour batter in cupcake pan and bake for 18-21 minutes
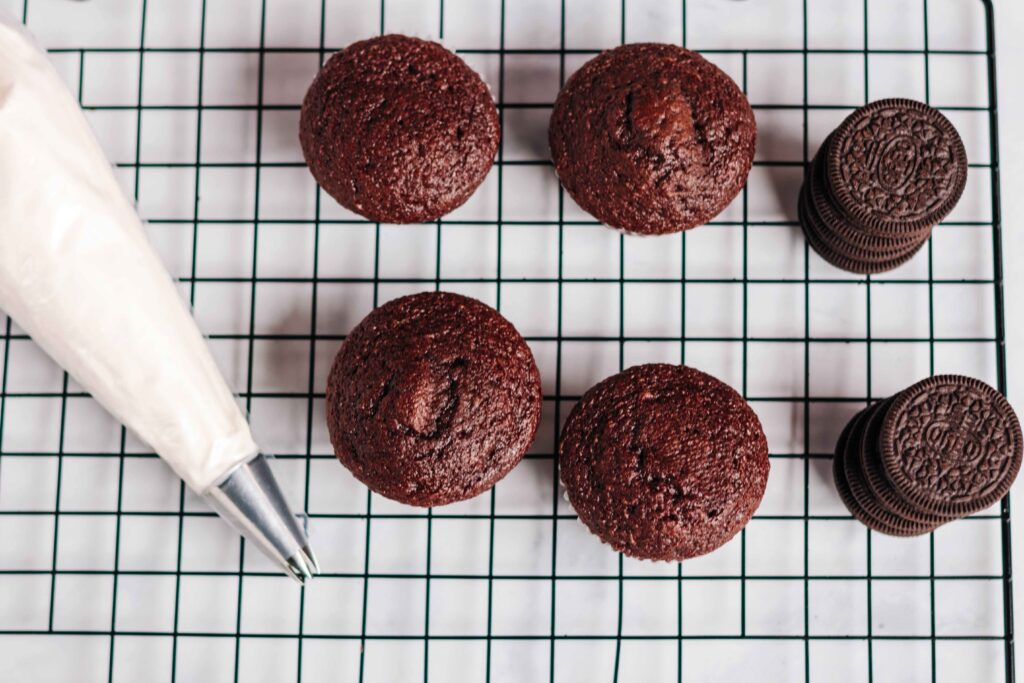
Let the cupcakes cool completely before frosting
Frosting
While cupcakes are cooling, cut the tip of the bag and the insert the 1M Wilton tip, then add the
frosting to fill the bag, leaving enough space at the top in order to twist the bag so frosting will not leak out.
Once cupcakes are completely cooled, frost with the vanilla frosting.
Add 2 Oreo cookies on each side of the cupcake to create Mickey ears. Then enjoy!
What are some of your favorite Disney treats to make at home or enjoy in the parks? I think we will be making some more Disney treats soon, these were so fun to make!
This website uses cookies to improve your experience. We'll assume you're ok with this, but you can opt-out if you wish.AcceptRead More
Privacy & Cookies Policy
Privacy Overview
This website uses cookies to improve your experience while you navigate through the website. Out of these, the cookies that are categorized as necessary are stored on your browser as they are essential for the working of basic functionalities of the website. We also use third-party cookies that help us analyze and understand how you use this website. These cookies will be stored in your browser only with your consent. You also have the option to opt-out of these cookies. But opting out of some of these cookies may affect your browsing experience.
Necessary cookies are absolutely essential for the website to function properly. This category only includes cookies that ensures basic functionalities and security features of the website. These cookies do not store any personal information.
Any cookies that may not be particularly necessary for the website to function and is used specifically to collect user personal data via analytics, ads, other embedded contents are termed as non-necessary cookies. It is mandatory to procure user consent prior to running these cookies on your website.